

 See My Latest Article on HelloNation
Garden pathways can be attractive, practical, and inexpensive to build without specialized equipment. In Big Spring, TX, the most successful paths usually account for strong sun, wind, occasional heavy rain, water conservation, and soil that may compact or shift over time.
What makes a garden pathway work well in Big Spring?
A dependable pathway should provide firm footing, drain water reasonably well, and require limited maintenance. It also needs to fit the way the yard is actually used.
Before choosing materials, observe the space after rain and during the hottest part of the day. Note where water collects, where grass struggles, and which route people naturally take between the house, garden beds, gates, and outdoor seating.
A useful path is usually:
- At least 30 to 36 inches wide for comfortable walking
- Wider—about 42 to 48 inches—if two people will pass often
- Slightly crowned or gently sloped so water does not remain on the surface
- Separated from planting beds with a clear edge
- Positioned away from tree roots, downspouts, and areas that become muddy
The city’s landscaping guidance encourages water-conscious planting and xeriscape approaches, which makes permeable, low-maintenance pathways a practical choice for many residential yards. ([library.municode.com](https://library.municode.com/tx/big_spring/codes/zoning%2C_subdivision_and_structural_standards?nodeId=ZOORBISPTE_ZOOR_ART10LAST_S10-6LAPL&utm_source=openai))
Which pathway materials are easiest for a homeowner to install?
Gravel, decomposed granite, stepping stones, and mulch are among the most manageable DIY options. Each behaves differently under foot and in changing weather.
Gravel is flexible and drains well. Small angular gravel tends to lock together better than smooth pea gravel, which can shift under shoes and spread into planting areas. Gravel paths need a compacted base and some type of edging to remain orderly.
Decomposed granite creates a more stable, natural-looking surface than loose gravel when it is installed in several compacted layers. It may require occasional touch-ups after strong rainfall or heavy foot traffic.
Stepping stones work well for short routes or informal garden areas. They should be set nearly flush with the surrounding soil so they do not become tripping hazards. A bed of compacted sand or small aggregate helps reduce rocking.
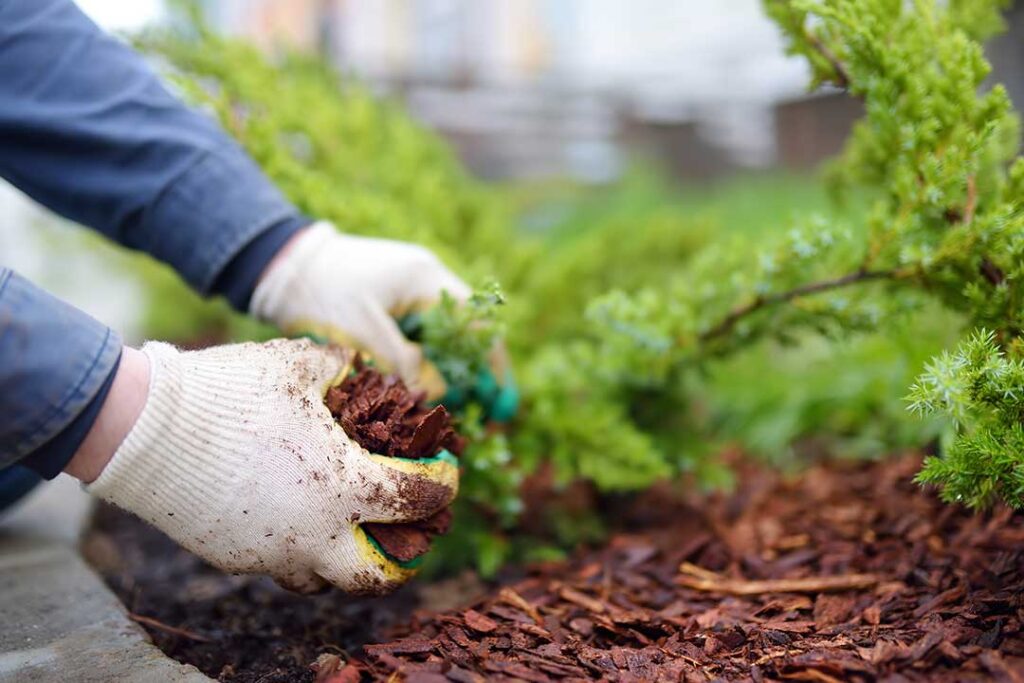
Mulch paths are comfortable and inexpensive, especially between vegetable beds. However, mulch decomposes, blows in strong wind, and may need seasonal replacement. It is usually better for low-traffic garden paths than for a main walkway.
Poured concrete can provide a durable surface, but it requires careful grading, formwork, mixing, and finishing. It is less forgiving of mistakes than loose-laid materials.
How should a DIY pathway be planned before digging?
Mark the route first with a garden hose, rope, or spray chalk. Walk it several times from different directions. A pathway that looks straight on paper may feel awkward once it connects to a gate, patio, or garden bed.
Keep the route simple. Gentle curves can look natural, but tight bends create difficult mowing and edging areas. Avoid sending water toward the foundation, crawl space, or neighboring property.
Call attention to existing drainage features before excavation. Downspouts should discharge away from the pathway or into a planned drainage area. A path should not block water moving naturally across the yard.
For most shallow, loose-material paths, remove approximately 4 to 6 inches of soil. The exact depth depends on the material, soil firmness, and expected use. A frequently used path benefits from a deeper compacted base than a narrow path through ornamental plants.
What is the correct installation process?
A stable pathway is built in layers rather than by placing surface material directly on bare soil.
1. Mark the edges. Use a hose, stakes, or paint to create a clear outline.
2. Remove vegetation and loose soil. Take out grass, roots, and organic debris that could decay and cause settling.
3. Check the slope. Create a slight fall to one side or along the length of the path.
4. Compact the soil. A hand tamper can work for small areas, although several passes may be needed.
5. Add a base layer. Crushed aggregate or road base provides strength and reduces rutting.
6. Compact in stages. Lightly moisten dusty material if needed, then tamp each layer before adding more.
7. Install edging. Stone, metal, treated lumber, brick, or flexible landscape edging can keep materials contained.
8. Add the surface layer. Spread gravel, decomposed granite, mulch, or sand evenly.
9. Set stepping stones if used. Press or tap them into place and confirm that they do not wobble.
10. Test the path. Walk it after installation and again after the first significant rain.
The base is often more important than the visible surface. A beautiful top layer will still shift if it sits on loose soil.
How can pathways handle wind, heat, and heavy rain?
Use heavier, angular materials where wind is a concern. Fine mulch and lightweight gravel can blow into beds or collect against fences. Edging helps, but it will not completely prevent movement during strong weather.
For rain, avoid creating a perfectly flat path between raised planting areas. Water may flow along the path and wash out the edges. A slight crown, gentle cross-slope, or shallow drainage swale can direct runoff without causing erosion.
In exposed areas, divide a long path with stable stepping stones or small transitions. These interruptions help slow moving material and make maintenance easier.
Avoid placing dark stone directly against heat-sensitive plants unless the plants can tolerate reflected heat. Stone surfaces can become considerably hotter than nearby soil, especially beside south- or west-facing walls.
Should landscape fabric be placed under a garden path?
Landscape fabric is optional, not automatic. It can help separate gravel from soil and reduce some weed growth, but it does not eliminate weeds. Dust, leaves, and organic matter eventually collect on top and create conditions where weeds can sprout.
Fabric may be useful beneath a gravel path over loose soil, especially when the surface material tends to mix with the ground. It is less helpful where roots, drainage, or future changes are likely to be concerns.
Do not use plastic sheeting beneath a pathway. Plastic can trap water, interfere with drainage, and create unstable pockets beneath the surface.
How wide should pathways be around vegetable and flower beds?
A main route should generally be 36 inches wide or more. Narrower paths can work between beds if only one person needs to pass and garden tools will not be carried through regularly.
For productive gardens, leave enough room to kneel, turn a wheelbarrow, or carry a bucket without brushing against plants. A 24-inch path may be acceptable between small beds, but 30 inches or more is easier to maintain.
Keep permanent paths slightly wider than the minimum needed on installation day. Plants spread, mulch migrates, and fences or bed borders may make the usable width smaller over time.
What common DIY pathway mistakes should be avoided?
Several problems appear repeatedly in home garden paths:
- Installing surface gravel without a compacted base
- Making the path too narrow for normal use
- Ignoring water flow from roofs and irrigation
- Using smooth stone that rolls underfoot
- Leaving loose edges where soil can wash onto the path
- Setting stepping stones too high or too low
- Choosing mulch in a location exposed to strong wind
- Building directly over large roots
- Failing to check the route from the house at night
- Assuming weed fabric removes the need for maintenance
A pathway does not need to be perfectly formal. It does need to be stable, drain sensibly, and match the level of use it will receive.
When should a pathway project wait?
Postpone excavation during extremely hot conditions, after saturated weather, or when the soil is too dry and hard to shape safely. Working wet soil can create long-lasting compaction, while digging baked soil can produce uneven grades and excessive dust.
If the proposed path crosses a buried utility, retaining wall, major drainage route, or large structural root, the design may require more careful planning. Deep excavation, unstable slopes, and drainage problems that threaten a foundation are not good candidates for casual DIY work.
For most small garden routes, careful layout, a compacted base, and material suited to local conditions are enough to create a useful path that ages gracefully.