

 See My Latest Article on HelloNation
A lush green lawn is a source of pride for many homeowners in Big Spring, TX. While our climate often brings sunshine and warm weather, establishing grass from seed can be challenging with the frequent winds, sporadic rainfall, and intense summer heat. For many, laying sod becomes the smart choice—a fast, reliable way to create an inviting outdoor space perfect for backyard BBQs, kids’ games, and relaxing evenings under the West Texas sky. This step-by-step guide will walk you through the entire process of laying sod in your yard, tailored specifically for residents of Big Spring and the surrounding West Texas region.
Why Choose Sod in Big Spring, TX?
Sod offers an almost-instant lawn, which is particularly appealing in communities like Big Spring where outdoor living is a year-round lifestyle. With sod:
- You skip weeks (or months) waiting for seed to establish
- Erosion-prone yards benefit from immediate ground cover
- You can control the grass variety to match local conditions—St. Augustine and Bermuda being excellent choices for our area
Step 1: Plan Your Project
Before heading to your local nursery or sod farm, measure the area where you want sod installed. Calculate the square footage (length x width) and add a little extra for odd-shaped corners or mistakes.
*Pro Tip for Big Spring Homeowners*: Shop for Texas-hardy sod varieties like Tifway 419 Bermuda, Raleigh St. Augustine, or Zoysia. These grasses tolerate the heat, require less water, and resist pests common in the region.
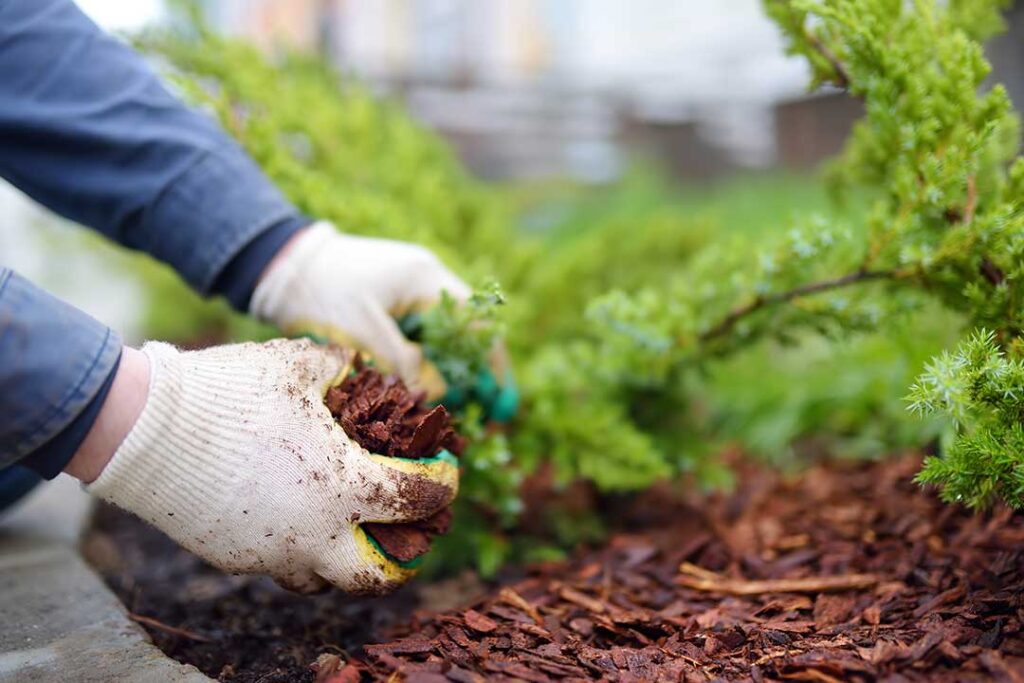
Step 2: Prepare Your Soil
Proper ground prep is critical for sod to take root and thrive. Skip or rush this step, and your lawn may struggle for years.
- Remove all old grass, weeds, and debris. Renting a sod cutter can speed up the process on larger areas.
- Use a rototiller to loosen the top 3–4 inches of soil. This improves drainage and root penetration, vital in Big Spring’s sometimes compacted clay soils.
- Add organic compost or topsoil to improve soil structure and nutrient content.
- Level the area thoroughly—pay attention to grading so water drains away from foundations and doesn’t pool in low spots.
Step 3: Water and Fertilize
After leveling, water the soil lightly a day or two before installation—just enough for it to be moist but not muddy. Spread a starter fertilizer for sod, available at local garden centers. This gives your new lawn the nutrients needed for quick establishment.
Step 4: Schedule Sod Delivery
Sod is perishable and needs to be installed within 24 hours of delivery, especially in the Big Spring sun. Plan to have a free day for installation. If temperatures are soaring, consider an early morning start to beat the heat.
Step 5: Lay the Sod
Now for the fun part—unrolling lush green turf! Start along the longest straight edge of your yard, such as a driveway or sidewalk.
- Lay full sod pieces end-to-end in a staggered, brick-like pattern for best coverage.
- Gently push the sod joints together, but avoid overlapping.
- Trim edges with a sharp knife for a neat fit around flower beds, trees, or walkways.
- On slopes, place sod rolls perpendicular to the incline to prevent shifting during watering or heavy rains.
Step 6: Water Thoroughly
Immediately after installation, saturate the sod and underlying soil so the water penetrates at least 3–4 inches deep. In Big Spring’s warm weather, it’s essential to keep the sod consistently moist for the first two weeks—watering 2–4 times daily in the early morning or late evening (to reduce evaporation).
- *Tip*: Slip a flat tool under a corner of the sod after your first deep watering. The soil should be damp underneath.

Step 7: Lawn Care for the First Month
Caring for new sod is critical, especially with Big Spring’s hot, breezy days and alkaline soil. Here’s your checklist:
- Weeks 1–2: Keep the sod moist but not waterlogged. Avoid traffic on the new grass as roots begin to knit into the soil.
- Week 3: Taper back to watering every other day, then to 1–2 times per week as the sod roots establish.
- Mowing: Wait until the grass reaches 3–4 inches tall and the sod resists gentle tugging. Use a sharp mower blade and remove no more than 1/3 of the blade height.
- Fertilize: After about four weeks, feed your lawn with a balanced fertilizer suited for your grass type.
Local Guidance: Big Spring Lawn Care Tips
- Mind the weather: Heavy winds and hot afternoons in Howard County can dry new sod quickly. Morning and evening watering is best.
- Watch for pests: The common Southern chinch bug or grub worms are active much of the year. Keep an eye out for brown patches that persist even with regular watering.
- Know your city ordinances: Big Spring occasionally enacts water restrictions in dry months. Check the city website for current regulations before planning heavy watering days.
Enjoying Your New Lawn
Within four to six weeks of installation, your sod in Big Spring should be well-established—a perfect setting for outdoor living that's central to life in West Texas. Whether you’re hosting a get-together after a Bulldogs game or just relaxing with a glass of sweet tea under the open sky, a lush lawn adds comfort and beauty to your home.
Frequently Asked Questions About Sod Installation in Big Spring, TX
What’s the best time of year to lay sod in West Texas?
Late spring through early fall is ideal in Big Spring. Avoid freezing winter weather and times of prolonged drought.
How soon can I walk or play on my new sod?
Give it at least 2–3 weeks for roots to establish before letting kids or pets roam.
Will sod survive on well water or under water restrictions?
Hardy varieties like Bermuda and St. Augustine can cope with Big Spring’s mineral-rich water and occasional restrictions—just follow the watering schedule closely during establishment.
By following these step-by-step instructions, even first-time landscapers in Big Spring, TX, can achieve a lush, thriving lawn that enhances curb appeal and makes every outdoor moment more enjoyable.